Photoshop Bicubic vs. Genuine Fractals vs. BlowUp
By Ctein
On to film scans. They're a different kettle of fish from digital photos. It's not just that the image structure is very different. It's that you usually have access to many more pixels than your typical digital camera produces. Scanning at a higher resolution beats upsampling every time. But that's not always possible, and sometimes you'll hit the wall anyway, especially on a large print from a cropped frame.
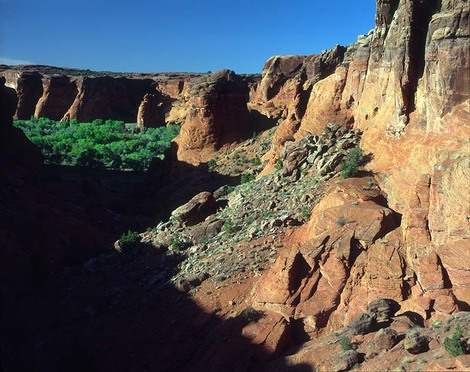
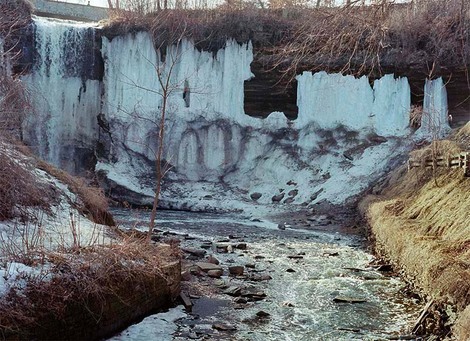
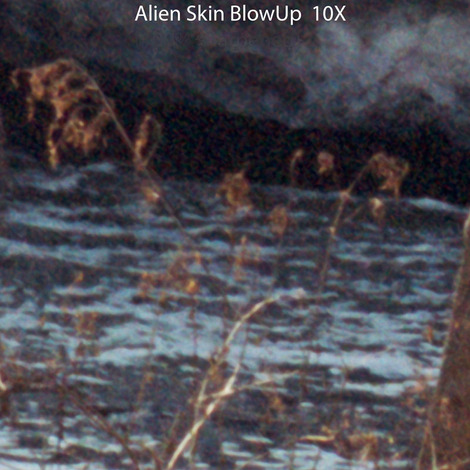
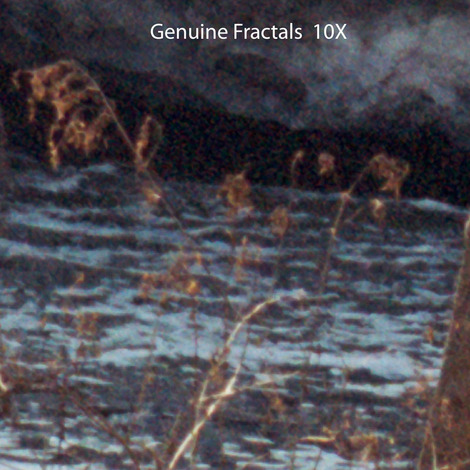
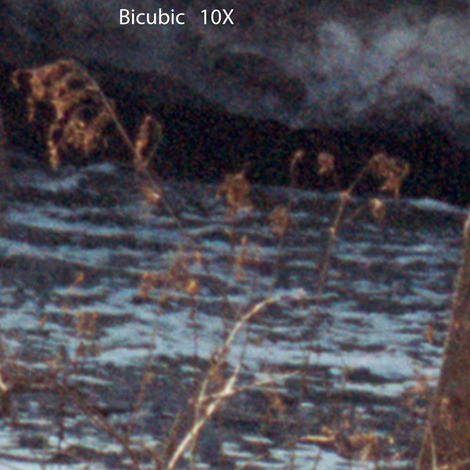
I tested two scans: a low-resolution (1200 ppi) oil-immersion scan of a 6x7 format Provia 100 II slide (above) and a high-resolution (3200 ppi) oil-immersion scan of a 645 format Portra 400 negative (below).
At 10X, even the low-resolution scan is going to result in a 7 by 9 foot print at 300 ppi, and you'd never need to print at 300 ppi for prints that big! Unless cropped severely, that's not the kind of photograph that anyone's going to be pixel-peeping at.
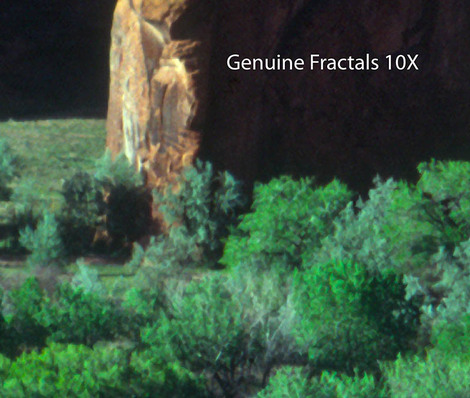
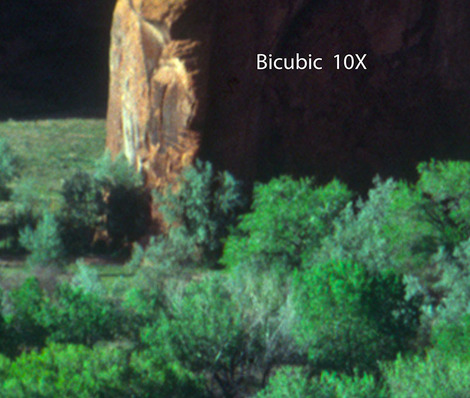
I taped comparison prints to a wall, stepped back 30 feet and started walking towards the pictures until I could see some difference between them. They looked identical at 15 ft. (and I have considerably better than average visual acuity). At 10 ft. the Genuine Fractals print definitely looked sharper. BlowUp beat out Bicubic, but just by a hair. The differences were not miraculous; it was just that Genuine Fractals was incrementally better. 6 ft. was about as close as I'd want to get to these extreme enlargements; closer, they all looked like varying degrees of mush.
Genuine Fractals also looked best at 4X and 1.67X. At 1.67X, Bicubic Sharper looked better than BlowUp (and better than Bicubic). This is the only case I found where the flavor of Bicubic I used made a difference in the relative rankings.
The 3200 ppi scan would print out at almost 18 in. by 24 in. at 300 ppi. You'd never upsample a file like this by 10X unless you were doing wall-sized display images or there was really serious cropping going on. Still, for the sake of consistency in testing, I checked it out at the three usual enlargements.
At 10X, Genuine Fractals won again, and again the critical viewing distance was about 10 ft.. This is obviously more a function of the printed pixel size than the original scan pixels. Printed out at a more plausible 100–200 ppi (for large display-sized prints), I'd expect the critical distance to move back to 15–30 ft. This time BlowUp came in a clear second, not too far behind Genuine Fractals. Bicubic was definitely in third place.
That ranking carried through for 4X, but BlowUp got relatively better-looking. At 1.67X, it was a real tossup between Genuine Fractals and BlowUp; the former was a bit crisper but the latter had slightly better tonality and less grain. Both of them beat out Bicubic.
And the winner is...
My conclusions from
all the tests? Genuine Fractals is aggressive about finding and
sharpening edges, but like a freight train rolling just a little too
fast it's likely to jump the tracks in spectacular and catastrophic
fashion. It was a consistent winner at 1.67X, reliable enough that I'd
trust it to do the best job. For bigger enlargements, no way. In my
judgment it's more often wrong than it's right. BlowUp produces a much
more "photographic" look; while it doesn't sharpen as well as Genuine
Fractals, it was a lot less likely to 'uglify' the photograph. Based on a
very limited test sample, it seems like Genuine Fractals is more
comfortable dealing with film images and a lot less so handling the
artifacts that come with digital photographs. Alien Skin BlowUp is more
egalitarian.
But, don't write off Bicubic! A lot of the time it produced the best results of all, most especially when the photographs contained fine and subtle texture and detail.
This leaves open the matter of alternate approaches. Qimage? Incremental upsampling? Split upsampling à la Martin's suggestion? All good questions. If there's a Part IV, I'll look at these matters, but I make no promises. I've got two weeks to make up my mind, and, please, no begging. I know you readers would like me to do it, but this testing is time-consuming so only one vote counts here—mine.
If not that, my next post will start a series of articles on a much more somber subject—sorting and cataloging a dead artist's work.
____________________
Ctein

Thanks Ctein for the review! Even if there is not a Part IV I walk away satisfied. ;o)
Posted by: darr | Tuesday, 04 March 2008 at 05:29 PM
As many other faithful readers are doing, I've done a few tests myself. My primary interest was and is a comparison between Photoshop and Qimage. An interesting feature of Qimage is that one can select the method for up-rezzing. Although my tests are not nearly as comprehensive as Ctein's and I have nowhere near the experience or credentials, it seems to me that Qimage "hybrid" is preferable.
The other thing that I realized from my testing -- meaning looking at prints -- is that the differences in uprezzing variations are usually very slight. When I ask others, meaning non-enthusiasts, to select the "best" of several variations, they usually say that the prints are all the same. Then they look at me in a sort of strange way ...
Posted by: Gordon Buck | Tuesday, 04 March 2008 at 08:33 PM
Great software enlarging write ups Ctein. I have been wondering for a long time what would be best.
Curious what made you just pick these three pieces of software? The reason why is that I have been wondering about the program Size Fixer over Genuine Fractals (had never heard of blow up until you wrote about it). Do you think you would try some other programs? If not, I still appreciate what you have done already.
Keep on writing and I will keep on reading,
Aaron
Posted by: Aaron | Tuesday, 04 March 2008 at 08:42 PM
I used to print with QImage. For upsampling I used Hybrid and for sharpening, Smart Sharpening, toned down from the default 5 to a more realistic 3.
Now I tend to prefer to use bicubic smoother in PS (if I need to uprez) and sharpen that with Photokit Sharpener from PixelGenius. I think that Bruce Fraser did a superb work distilling his well-written sharpening techniques in that plugin. It just looks natural and photographic. I think that print sharpening is more important than just up-reszing. It has to be sharpened right to look realistic. At least for me.
Soon I'l revisit QImage and compare, yet again.
Posted by: A. Dias | Wednesday, 05 March 2008 at 01:54 AM
Ctein, as I've already done quite a bit of work on the split upsampling methods, I'll be preparing a write-up ove the next couple of weeks. There is almost as much to test under this banner as for the individual methods.
I'll report back when I'm done.
Posted by: Martin Doonan | Wednesday, 05 March 2008 at 03:23 AM
I found this very interesting - not least because I conducted some similar (though not as comprehensive) tests myself some time back. My conclusions were not dissimilar - ie. bicubic does a pretty good job a lot of the time, though there may be better tools for a specific task or type of image.
One other form of interpolation available to those of us who shoot RAW is to enlarge at the point of conversion. I think this produces slightly cleaner images, particularly from high ISO shots - and of course you have the option of converting & enlarging using the largest possible colour space which I think helps in preserving smooth tonality.
Cheers,
Colin
Posted by: Colin Work | Wednesday, 05 March 2008 at 05:54 AM
I think that Ive tested almost all upsizing plug ins for Mac, so far my preferred tool is this from Jack Flesher:
http://www.outbackphoto.com/workflow/wf_60/essay.html
At the end of the essay there is a link to download a free automated plug in.Try it and see for yourself.
Cheers
Jose
Posted by: Jose Luis Gonzalez | Wednesday, 05 March 2008 at 02:11 PM
Dear Aaron,
The history was this. I've used (and reviewed) several Alien Skin products. I like their software. Equally important, I like the people. They're pleasant, even fun to deal with. They understand my job as reviewer, too. They never give me any grief for pointing out a problem in a product of theirs (assuming I've got it right, of course). I think they're just all around good guys.
So when I heard about BlowUp, I knew I'd have to give a look. And the price of the product made it pretty clear that they were competing with the Grand Old Man of the field, Genuine Fractals. So along with seeing if BlowUp was better than Bicubic, it made sense to see how it stood up to Genuine Fractals.
Originally I planned this to be review for a PHOTO Techniques, but Scott had already assigned a review of this product to someone else. So I was stuck with a yen to run tests and no venue for them. Which is why you guys lucked out. If you look at the number of words I wrote and consider that I left out all the stuff that would normally be in a printed review, like system requirements, technical specs, and any instructions on how to actually use the controls and settings in the programs, you'll see that what you got was a full-length magazine article.
Which is also why I only covered these three approaches. More is the enemy of good. For a finite amount of space and time, the more products you compare, the less you can say about each one. I can't afford to write more complex reviews than this; I don't have a market that will pay for them. Nor one that will publish them if they were proportionately longer.
Find me a venue that will let me run 5000 word articles and pay me $2,000 for them and I'll be happy to provide much more extensive comparisons.
But until that happens ... or I get that MacArthur fellowship I so richly deserve [grin]... I have to keep the scope of my reviews within what I can get published and what I can get paid for.
pax / Ctein
[[ Please excuse any word-salad. ViaVoice in training! ]]
=========================================
-- Ctein's Online Gallery http://ctein.com
-- Digital Restorations http://photo-repair.com
=========================================
Posted by: Ctein | Wednesday, 05 March 2008 at 07:48 PM
I think it takes a GREAT deal of active imagination to see any meaningful difference in these comparisons. This is sub-pixel-peeping!
Posted by: Andrew | Thursday, 06 March 2008 at 09:48 PM
Dear Andrew,
Once again...
The point of illustrations is to illustrate a point, not to prove it. If you can't see any difference in the illos, then believe the text. If you don't believe the text, then why are you bothering to read the review at all?
Also, as explained in the previous parts of the article, you're not getting illos at 1:1 scale, but at 25% scale, to better approximate the printed versions.
pax / Ctein
Posted by: Ctein | Friday, 07 March 2008 at 04:16 AM
Ctein, can you recommend a printer under $500 that will produce wonderful black and white prints? I want to supplement my darkroom output with some black and white film negative scans and print them from my computer. Thanks.
Posted by: TBM | Friday, 07 March 2008 at 10:31 AM
Dear TBM,
I think your best bet under $500 is the HP Photosmart 8750 Professional Photo Printer. Just squeaks in at $499.99
pax / Ctein
Posted by: Ctein | Friday, 07 March 2008 at 09:51 PM